Ant Wars Mutations and Combo Mutations
Pick Trapjaw, Stinger, Acid, Armored, or Honeypot with DNA timing that actually fits the clock.
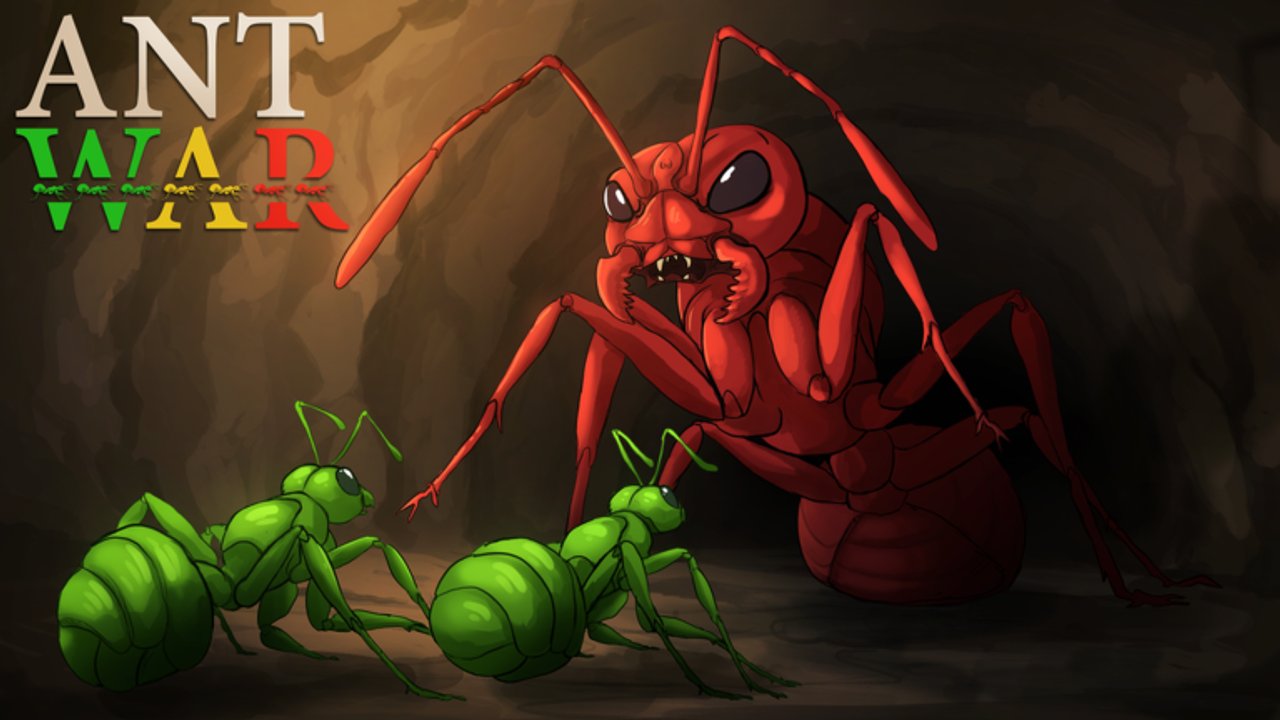
Mutations (also called classes) define your job in Ant Wars. After you choose a size — Minor (0 DNA), Major (3), Supermajor (6) — you spend more DNA on a mutation that boosts bite, burst, ranged poke, HP, or healing. This guide explains each mutation, when Combo Mutations open, and how to spend DNA without brick-walling your colony. Cross-check dig speed needs on Digging and Blocks and queen care on Heal the Queen.
Mutation roster
Trapjaw — 1.5× bite
Trapjaw multiplies bite damage by about 1.5× (values round up). It has no separate ability button; your right-click simply hurts more. Community damage bands often land roughly Minor 14–17, Major 20–24, Supermajor 27–33 versus lower unmutated bites. Trapjaw is a top pick for queen DPS and fair melee trades. Take it when your team already has a feeder and needs raw kill speed on the final breach — see How to Win.
Stinger — burst ability
Stinger adds a burst ability on top of normal biting. Ability damage scales with size (community figures often cite roughly 40+ / 62+ / 80+ style bands by Minor / Major / Supermajor). Stinger excels at finishing queens and winning short duels. It is aggressive: you need dig access to the target and enough HP to survive the commit. Pair with flank tunnels from the digging guide.
Acid — ranged poke
Acid is the ranged mutation. Spit damages enemy ants (and is excellent for chipping queens from safer angles). It shines in trenches and long sightlines — dig Compact sand and Wood corridors that favor poke. Acid is weaker if you only sit in chaotic melee piles; create geometry that fits the class.
Armored — extra HP
Armored increases health so you can dig under fire and hold chokepoints. It does not multiply bite like Trapjaw or add spit like Acid. Pick Armored for lead diggers on Stone, nest guards, and players who die too often on the highway. Living through two more Dig cycles often beats a glass cannon that never opens the wall.
Honeypot — better healing
Honeypot improves healing efficiency when you Feed (T). Drops heal more per fungus economy (community notes often describe ~100 HP drops versus ~50 for regular, with slightly more fungus to fill — net savings over a long defense). Minor storage limits can cap early drop size; Supermajor Honeypot is a late-game medic monster. Full Feed rules and the 3000 HP / 30:00 regen timing are on Heal the Queen.
DNA costs and sizing order
Mutation purchases cost DNA on top of size (commonly stepped costs such as 1 / 2 / 3 style tiers by upgrade — spend what the in-game shop shows that match). Practical order for most players:
- Stay Minor, learn Controls.
- Buy Major (3) when walls get slow.
- Take a mutation that fills a team gap.
- Save toward Supermajor (6) for Stone and late fights.
- Under 30:00, look for Combo Mutations if DNA allows.
Passive DNA ~1 / 45s, double in the last 15 minutes, plus healing / larvae / damage. Medics and active fighters fund mutations faster than pure AFK.
Combo Mutations (timer under 30:00)
When the clock falls below 30:00, Combo Mutations unlock — stacking or pairing mutation effects for the endgame. That same window is when queen passive regen (3 HP/s) stops, so colonies need both damage combos and heal capacity. Do not blow all DNA on a flashy combo while the queen sits unfed. Ideal late loadouts often include at least one Honeypot or dedicated feeder plus Trapjaw / Stinger / Acid pressure.
Example team mix under 30:00:
- Supermajor Trapjaw + Stinger pressure on the breach
- Acid holding the highway sightline
- Armored lead digger finishing Stone
- Honeypot on fungus rotation
Matchup-style tips
| Your goal | Strong first mutation | Why |
|---|---|---|
| Kill queens fast | Trapjaw or Stinger | Bite multiplier / burst |
| Safe chip | Acid | Ranged |
| Open Stone under fire | Armored | HP to finish digs |
| Stabilize nest | Honeypot | Feed efficiency + DNA from heals |
| Flex solo queue | Armored or Honeypot early → damage later | Survive until info exists |
Trapjaw is often praised in community DNA-efficiency talks for Majors who fight a lot; Acid fans prefer trench maps; Honeypot players carry silent wins when everyone else greed-dives.
Mistakes to avoid
- Buying a damage mutation when the queen is already critical and nobody can Feed
- Triple Acid with no digger opening a lane
- Ignoring Combo timing and hitting Supermajor too late for the Stone gate
- Treating colonies (Fire Nation, Golden Empire, Leaf Kingdom, Concrete Clan) as if they changed mutation stats — they are cosmetic
- Expecting promo codes to refund bad spends — this game has no active codes (Codes)
Practice path
Match A: Honeypot only — master Feed DNA. Match B: Trapjaw Major — feel 1.5× bite on workers then a queen. Match C: Acid trenches using Digging and Blocks. Match D: attempt a Combo plan after 30:00 with banked DNA. Return to Getting Started if sizes still confuse you, and finish fights with the checklist on How to Win.
Mutations do not replace fundamentals. Dig counts, Feed timing, and Signals still decide whether your fancy class ever reaches the enemy queen. Spend DNA on purpose.
Frequently Asked Questions
Quick answers for Ant Wars colony fights.
What does Trapjaw do in Ant Wars?
Trapjaw multiplies bite damage by about 1.5×. It has no separate ability and is excellent for queen DPS and melee trades.
When do Combo Mutations unlock?
Combo Mutations become available when the match timer is under 30:00 — the same window where queen passive regen stops.
Which mutation is best for healing?
Honeypot. It improves healing drops from Feed (T) and pairs with fungus routes behind the queen.
Should I buy a mutation before Major?
Often buy Major (3 DNA) first if dig walls are slow, then mutate. If the nest is collapsing, prioritize Honeypot even at Minor.
Is Acid good for killing the queen?
Yes for chipping from range and safer angles. Pair Acid with trenches; bring Trapjaw or Stinger for close finishes.