Ant Wars Honeypot Class Guide
Turn fungus into double-strength heals, save the queen after regen stops, and farm DNA as the colony medic.
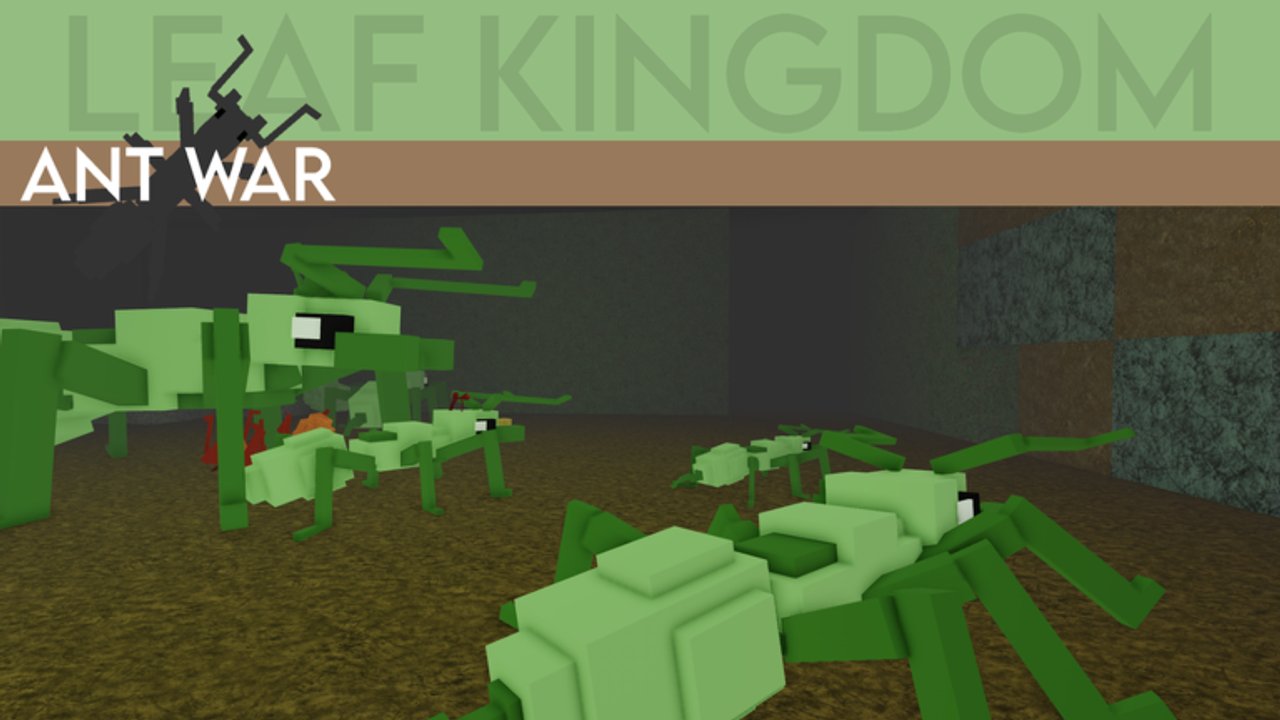
Why Honeypot exists
Honeypot is the dedicated support mutation in Ant War (Ant Wars) by Chylan, added in the v1.216 wave with larvae looting. It does not spray acid or multiply bite damage. It makes every Feed (T) count for more so your colony survives the late clock when queen passive regen (3 HP/s) stops under 30:00. If you searched for a Honeypot guide, a medic build, or “how to heal as Supermajor,” this page is the deep dive. Pair it with Heal the Queen for the shared Feed loop, Mutations for the full class roster, and DNA for how heal income funds your next size.
There are still no active promo codes that unlock Honeypot for free — you buy the class with match DNA like every other mutation.
Honeypot heal math (community tables)
Community wiki tables (Ant War rblx / Fandom) compare a normal feed drop to a Honeypot drop:
| Feeder | Max heal per drop | Fungus for a full drop |
|---|---|---|
| Regular | ~50 HP | ~2 fungus blocks |
| Honeypot | ~100 HP | ~2.66 fungus blocks (~1.33× fill) |
Net result: Honeypot spends a bit more fungus per charge but delivers about double heal value, which community write-ups frame as roughly ~33% fungus saved over a long defense. That is why Honeypot wins sieges — fungus regenerates slowly behind the queen, and wasted small heals lose the nest.
Size storage limits
- Minor storage tops out around 2 fungus. With Honeypot, a Minor full charge often caps near ~80 HP healed instead of a perfect 100 — still far better than a regular Minor drop.
- Major and Supermajor hold more fungus, so they reach the full Honeypot drop more reliably.
- Dig counts on fungus match Dirt ballpark: 4 / 3 / 2 for Minor / Major / Supermajor — see Digging and Blocks.
Exact UI percents can shift after balance patches; confirm the abdomen % meter in your client and treat the table as the best published community baseline.
Self-heal and team heal
Honeypot is widely noted as the first class with strong self-heal after feeding another ant: drop a heal on an ally, then you can top yourself from the same support kit. That lets a medic stay on the fungus route instead of dying on the first counter-dive. You still heal the queen and allies by pressing T with fungus stored and touching mouths — the trophallaxis blob must connect. Empty T presses do nothing.
Practical Feed habit from live Honeypot Supermajor guides and comments:
- Pre-chip fungus blocks behind the queen so emergency digs are short.
- Fill the abdomen %, press T, touch the queen or injured ally.
- Self-top if you took chip damage on the route.
- Restock immediately — never stand idle at 0% during a breach.
On console and mobile, bind Feed where your thumb can reach without covering Dig. Many players only learn Feed mid-clutch; practice once in a quiet minute using Controls.
When to buy Honeypot
| Match state | Honeypot call |
|---|---|
| Early, queen untouched, team silent | Optional Minor Honeypot to farm DNA via heals |
| Queen scratched under ~3000 HP | Buy Honeypot now — heal income + nest save |
| Under 30:00, regen off | Honeypot (or Honeypot combo) is nearly mandatory |
| Your colony already has two medics, zero DPS | Switch to Trapjaw / Stinger — see Trapjaw Guide |
| You are the only one answering Heal signals | Stay Honeypot even as Supermajor |
Community tips that hold up in pubs: swap into Honeypot when the queen is already low so every Feed tick pays DNA; stage Honeypots near a fight, not inside the densest bite pile, so you heal fighters who peel back; dig a short fungus lane so you can Feed and re-dig in the same breath when the queen is on life support.
Size ladder for medics
- Minor Honeypot (0 DNA size): Best early DNA printer and Medic badge progress. Accept the ~80 HP drop cap and focus the queen.
- Major Honeypot (3 DNA): Mid-round battery when tunnels are open and fungus trips get contested.
- Supermajor Honeypot (6 DNA): Late nest anchor. Pair with the embedded Honeypot Supermajor video mid-page, then return here for the regen cutoff rules videos often skip.
- Minim Honeypot (gamepass): Fragile courier that can ferry heals and larvae — see Ant Sizes and Pet Aphid if you also run the heal pet.
Under 30:00, Combo Mutations (v1.3) let you stack Honeypot + Armored for a tanky medic or Honeypot + Trapjaw/Stinger if your nest already has a pure feeder. Banking plans live on DNA and Combo Mutations.
Nest setup that makes Honeypot look broken
- Keep a clear ring between fungus and the queen — no Stone maze you cannot re-break.
- Pre-dig fungus to one-hit leftovers for panic fills (Supermajor especially).
- Answer Heal signals on Signals instantly; spam only when HP is real.
- Let Armored / Acid hold the choke so you are not interrupted mid-Feed — Queen.
- After an enemy queen dies, leave one Honeypot on your own nest while others loot larvae — Larvae Loot.
Fungus growth slows when the timer runs very low (community notes around the under 20:00 window from the v1.216 era). Stock early. Strip-mining every fungus block with no path left is how medics fail.
DNA, badges, and fair play
Healing grants DNA. A disciplined Honeypot often hits Major and Supermajor without a damage montage, especially in the final 15 minutes when passive DNA doubles. Chase the Medic badge through honest Feed volume — Badges. Skip unauthorized auto-feed scripts; they risk bans and teach nothing about fungus timing — Scripts.
Common Honeypot mistakes
- Buying Honeypot with a full-HP queen and three existing medics while nobody digs.
- Feeding full-HP Supermajors in a side tunnel while the queen sits at 1500 HP.
- Standing in the queen room with 0% fungus during a Stone breach.
- Forgetting self-heal and dying on the restock path.
- Ignoring Heal pings because you are “saving” for a perfect 100 HP drop.
- Expecting Pet Aphid or cosmetics to replace Honeypot — they do not.
Related reading
- Heal the Queen — regen cutoff and Feed thresholds
- Mutations — full class roster
- Trapjaw Guide — when your colony needs bite DPS instead
- v1.216 Update — patch that shipped the class
- Guides Hub — every how-to
Master the 50→100 heal jump, respect fungus fill costs, and treat Honeypot as a win condition for the nest — not a meme side class. Colonies that Feed through the post-regen window are the ones still standing when Combo Mutations decide the map.
Frequently Asked Questions
Quick answers for Ant Wars colony fights.
How much does a Honeypot heal compared to a normal feed?
Community tables put a regular drop near 50 HP for about 2 fungus blocks, while Honeypot drops near 100 HP for about 2.66 fungus blocks — roughly double heal with better long-term fungus efficiency.
Can Minor Honeypot reach a full 100 HP drop?
Often not. Minors store about 2 fungus, so Honeypot Minor drops commonly cap near 80 HP. Majors and Supermajors reach the full charge more reliably.
Does Honeypot self-heal?
Yes. After feeding an ally, Honeypot players can self-heal from the same support kit, which keeps medics alive on the fungus route.
When should I switch to Honeypot Supermajor?
When the queen is under pressure or the timer is under 30:00 with regen off. Pre-chip fungus, answer Heal signals, and stay near — not inside — the densest melee.
Which update added Honeypot?
Honeypot shipped in the v1.216 era with larvae looting and related quality-of-life systems. See the v1.216 update page for the full feature list.